Setting up a V2Ray server can be simplified using an automated one-click installation script. Below is a step-by-step guide using the popular 233boy V2Ray script on a Linux VPS.
1. Prerequisites & Installation
- Connect to Your Server: Log in to your VPS via SSH as the
rootuser (Ubuntu 22/24 or Debian 12 is recommended). - Update Packages & Install Dependencies:
Run the following command to ensurewgetandcurlare installed:apt update -y && apt install -y wget curl - Run the One-Click Script:
Execute the installation command in your terminal:bash <(wget -qO- -o- https://github.com) - Complete Setup:
The script will automatically install the core service and generate a default configuration (typically VLESS-TCP-Reality or VMess, which works immediately without requiring a domain name). Once finished, your connection URL and configuration details will be displayed in the terminal.
2. Managing Your V2Ray Server
After installation, you can type
v2ray at any time to open the interactive management menu, or use the following shortcut commands:v2ray info— View current configuration details (IP, port, UUID, protocol, etc.).v2ray url— Generate a shareable node link to import into your client.v2ray qr— Generate a QR code for quick mobile scanning.v2ray add— Add a new protocol configuration (e.g., VMess, Trojan, or TLS-based setups).v2ray del— Delete an existing configuration.v2ray bbr— Enable TCP BBR congestion control to improve connection speed and stability.v2ray restart— Restart the V2Ray service.v2ray update— Update the V2Ray core and management script to the latest version.
3. Connecting from a Client Device
To connect to your server, install a compatible V2Ray client on your local device:
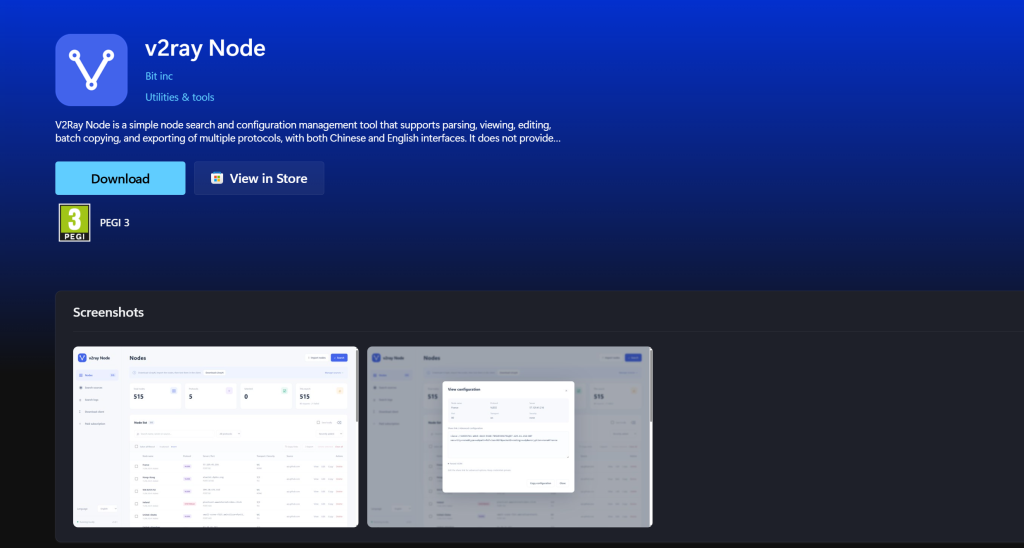
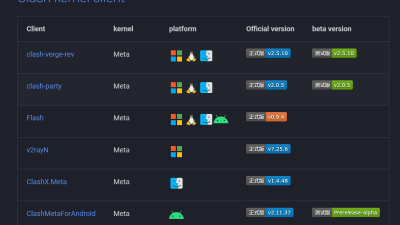
- Windows: v2rayN
- macOS: V2RayXS / Clash Verge Rev / Shadowrocket (Apple Silicon)
- Android: v2rayNG
- iOS: Shadowrocket
Steps to Connect:
-
- Run
v2ray urlon your server and copy the generated link (e.g.,vless://...orvmess://...). - Open your client app and select Import from Clipboard (or scan the QR code generated by
v2ray qr). - Select the imported server profile and enable the System Proxy (or VPN mode) to start browsing.
- Run
Troubleshooting Tips
- Connection Timeout: Verify that your cloud provider’s firewall or security group allows inbound traffic on the port shown in
v2ray info. - Time Synchronization: Protocols like VMess require accurate system clocks. Run
timedatectl statuson your server to ensure the system time is synced.